
Wondering where is gear icon in QuickBooks? Learn its location, functions, and how to access important settings in QuickBooks
Qasim Raza | QuickBooks Expert


Accounting & Bookkeeping
QuickBooks
 By qasimquickbooks416@
August 18, 2026
By qasimquickbooks416@
August 18, 2026
Where Is Gear Icon in QuickBooks
 By qasimquickbooks416@
August 18, 2026
By qasimquickbooks416@
August 18, 2026
Where is gear icon in QuickBooks is one of the most common questions new QuickBooks Online users ask. Many users need to update company settings, manage users, customize invoices, or access account preferences. However, they often struggle to locate the Gear icon. As a result, simple tasks can become frustrating and time-consuming. Fortunately, the Gear icon is easy to find once you understand the QuickBooks Online interface.
As a QuickBooks Online expert, I frequently help users navigate the settings menu. The Gear icon serves as the control center for many important features. Therefore, knowing its location can improve your workflow and save valuable time. Moreover, the Gear icon provides quick access to company settings, user management, account settings, lists, tools, and customization options.
What Is the Gear Icon in QuickBooks?
The Gear icon is a settings menu located inside QuickBooks Online. It provides access to many administrative and accounting functions.
The icon looks like a small gear or cogwheel. When selected, it opens a menu containing various settings and tools.
The Gear icon allows users to:
- Manage company settings
- Configure account preferences
- Create custom fields
- Manage users
- Access lists
- Import data
- Export reports
- Customize forms
Therefore, understanding where is gear icon in QuickBooks helps users perform many accounting and administrative tasks efficiently.
Where Is Gear Icon in QuickBooks Online?
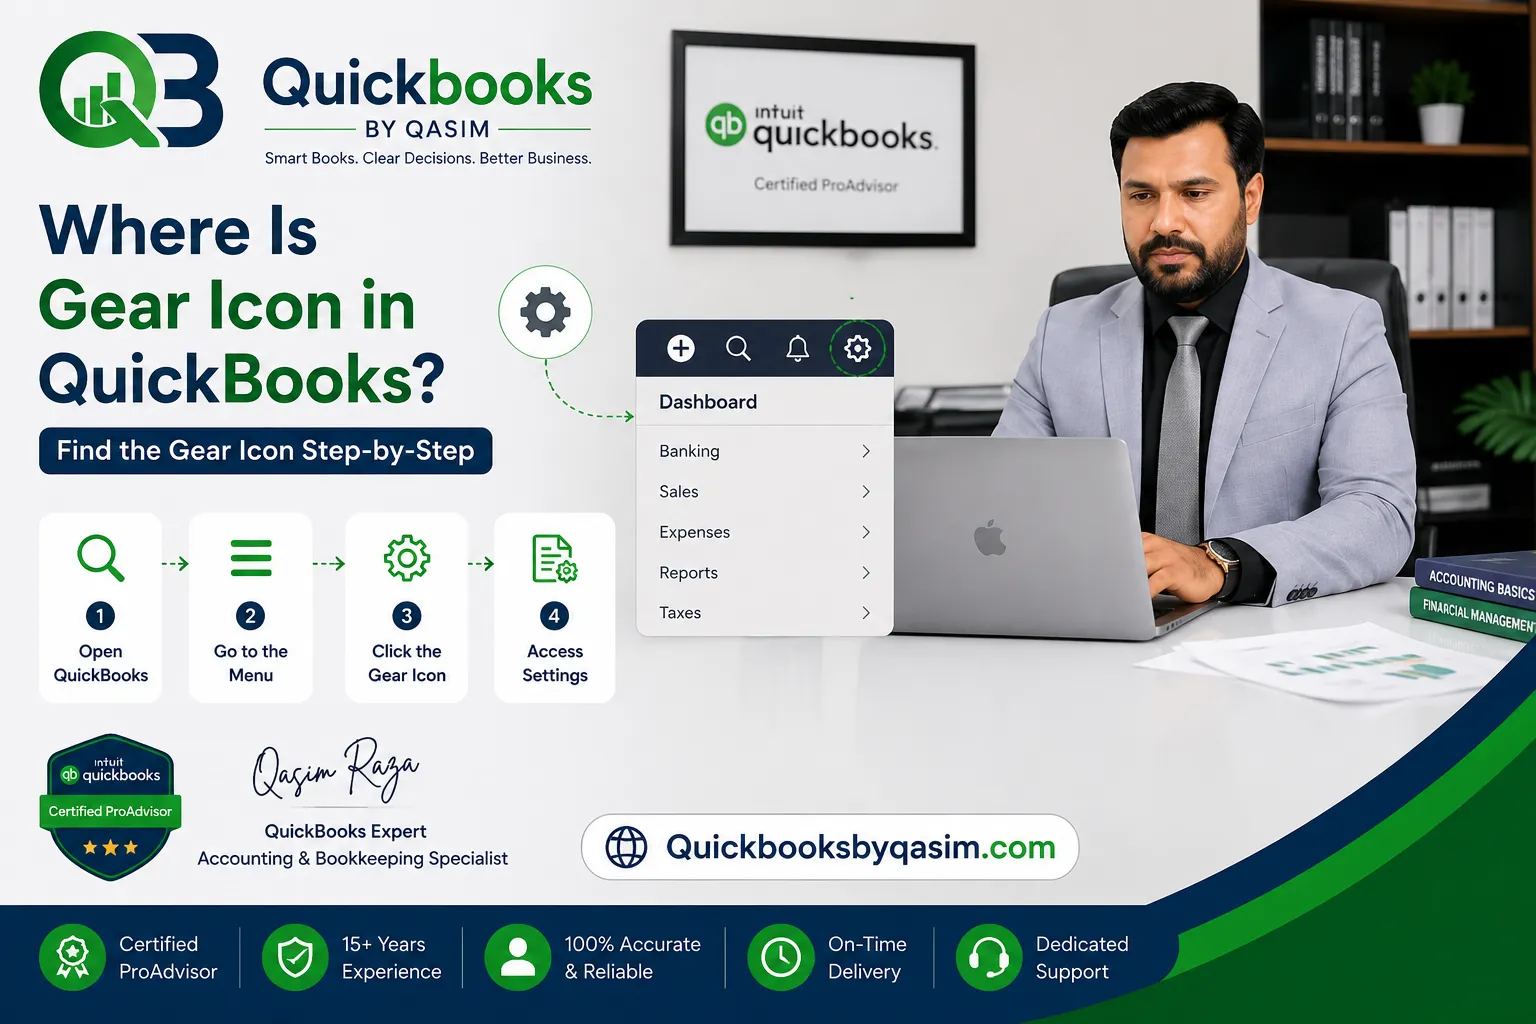
If you use QuickBooks Online, the Gear icon appears in the upper-right corner of the screen.
To locate it:
- Sign in to QuickBooks Online.
- Look at the top-right corner.
- Find the small gear-shaped icon.
- Click the icon to open the settings menu.
The icon usually appears beside the Help and Search options.
Once you click it, QuickBooks displays several categories and shortcuts. Consequently, you can access important settings without navigating through multiple menus.
Why Is the Gear Icon Important?
Many essential QuickBooks functions are available through the Gear icon menu.
Without accessing the Gear icon, users may struggle to locate important configurations.
The Gear icon helps users:
- Set up company information
- Manage invoice templates
- Configure sales settings
- Update tax preferences
- Import accounting data
- Manage user permissions
- Access recurring transactions
Therefore, the Gear icon acts as a central hub for system administration and business settings.
Main Sections Inside the Gear Icon
When you click the Gear icon, QuickBooks Online displays several categories.
Company Settings
Company Settings is one of the most frequently used sections.
This area allows you to:
- Change company information
- Update contact details
- Modify accounting preferences
- Configure sales options
- Set advanced settings
As a result, businesses can customize QuickBooks Online according to their operational needs.
Lists
The Lists section provides quick access to important records.
These include:
- Products and Services
- Recurring Transactions
- Payment Methods
- Custom Fields
- Account Lists
Therefore, users can manage business data efficiently from one location.
Tools
The Tools section contains several useful business functions.
Common options include:
- Import Data
- Export Data
- Reconcile Accounts
- Budgeting Tools
- Audit Log
Consequently, users can perform accounting tasks faster and more accurately.
Profile Settings
The Profile section helps users manage personal account settings.
From here, you can:
- Update login information
- Manage subscriptions
- Configure notifications
- Access user preferences
Therefore, account management becomes simple and convenient.
How to Use the Gear Icon for Company Settings
Many users asking where is gear icon in QuickBooks are actually trying to update company settings.
Follow these steps:
- Click the Gear icon.
- Select Account and Settings.
- Choose the desired menu.
- Update information as needed.
- Save changes.
You can modify:
- Company name
- Email addresses
- Tax information
- Sales settings
- Expense settings
As a result, your QuickBooks account remains accurate and up to date.
Common Tasks Performed Through the Gear Icon
The Gear icon supports several everyday accounting functions.
Manage Users
Business owners often need to add team members.
Using the Gear icon, you can:
- Add users
- Remove access
- Assign permissions
- Modify user roles
Therefore, businesses maintain secure account access.
Create Recurring Transactions
The Gear icon provides access to recurring transaction management.
This feature helps automate:
- Monthly invoices
- Regular expenses
- Recurring sales receipts
Consequently, bookkeeping becomes more efficient.
Import Data
Many companies migrate information into QuickBooks.
Through the Gear icon, users can import:
- Customers
- Vendors
- Products
- Services
- Chart of Accounts
As a result, setup becomes faster and easier.
View Audit Log
The Audit Log records activity within QuickBooks Online.
It helps users:
- Track changes
- Review modifications
- Monitor user activity
- Improve accountability
Therefore, businesses maintain stronger financial controls.
Why You May Not See the Gear Icon
Sometimes users cannot locate the Gear icon.
Several reasons may explain this issue.
Limited User Permissions
Certain user roles have restricted access.
If your account lacks administrator privileges, some settings may not appear.
Therefore, verify your assigned role.
Browser Display Issues
Occasionally, browser settings affect screen display.
Try:
- Refreshing the page
- Clearing cache
- Updating the browser
- Using another browser
As a result, the Gear icon may reappear.
Mobile App Differences
The QuickBooks mobile app differs from the desktop version.
Some settings appear under menu options rather than the traditional Gear icon.
Therefore, mobile users may experience a different layout.
Subscription Restrictions
Some QuickBooks features depend on subscription levels.
Therefore, available options inside the Gear menu may vary.
Best Practices When Using the Gear Icon
Professional QuickBooks users follow several best practices.
Review Settings Carefully
Always verify settings before saving changes.
Accurate configurations improve reporting quality.
Limit Administrative Access
Grant administrator privileges only to trusted users.
As a result, financial data remains secure.
Use the Audit Log Regularly
Review activity logs periodically.
This practice helps identify unauthorized changes quickly.
Update Company Information
Keep contact details and company information current.
Therefore, invoices and reports remain accurate.
Benefits of Understanding the Gear Icon
Knowing where is gear icon in QuickBooks offers several advantages.
These benefits include:
- Faster navigation
- Improved productivity
- Easier account management
- Better customization options
- Stronger financial controls
- Simpler user management
Consequently, users spend less time searching for settings and more time managing their business.
Conclusion
Understanding where is gear icon in QuickBooks is essential for every QuickBooks Online user. The Gear icon serves as the main gateway to settings, tools, lists, user management, and company preferences. In most cases, you can find it in the upper-right corner of the QuickBooks Online dashboard.
By learning how to use the Gear icon effectively, you can manage company settings, customize forms, control user access, import data, and maintain accurate accounting records. Most importantly, mastering this feature improves efficiency and helps you get the most value from QuickBooks Online.
For a complete overview of QuickBooks Online, read our QuickBooks Online Complete Guide 2026